
Choosing your perfect Alberta adventure comes down to “Adrenaline ROI”—maximizing thrill, not just counting dollars.
- High-cost activities like heli-tours offer epic views but come with logistical risks like weather cancellations.
- Activities like caving or rafting have a high “commitment level,” while hiking offers maximum flexibility for minimal cost.
Recommendation: First, assess your personal tolerance for cost, physical exertion, and mental challenge, then pick the activity that delivers the biggest personal payoff for your $200 budget.
The Canadian Rockies are an adrenaline junkie’s playground. You’ve got a couple hundred bucks burning a hole in your pocket and a single day to make a memory that will last a lifetime. The sheer volume of choices is electrifying but also paralyzing. Do you conquer a thundering river, scale an iron-rungged cliff on a via ferrata, or squeeze through ancient caves? Most guides just give you a list of options. They’ll tell you whitewater rafting is exciting and hiking has great views. That’s the easy part.
The real challenge isn’t finding an adventure; it’s choosing the *right* one for you. It’s about looking past the glossy brochures and calculating your personal Adrenaline Return on Investment (ROI). This isn’t just about money. It’s a measure of the thrill you get balanced against your budget, your time, your fitness, and your nerve. A $300 helicopter tour might sound amazing, but is a 10-minute flight a better ROI for you than a three-hour horseback ride that costs half as much but leaves you sore for days?
Forget generic lists. This guide is your decision-making framework. We’re going to break down Alberta’s top adventures through the lens of Adrenaline ROI. We’ll analyze the real costs, the hidden logistical challenges, and the unique type of thrill each one offers. By the end, you won’t just have a list of things to do; you’ll have a clear strategy to pick the one experience that will give you the biggest, most satisfying rush for your hard-earned cash.
This article breaks down the crucial decision points for Alberta’s most popular adventures, helping you select the perfect experience based on your budget, skill, and appetite for thrills. Read on to find your match.
Summary: Choosing Your High-Adrenaline Alberta Experience
- Kananaskis vs Kicking Horse: Which River is Too Rough for Kids?
- Is a 10-Minute Heli-Tour Worth $300 for the Views?
- Canmore Caves: Are You Too Claustrophobic for the Rat’s Nest Cave?
- 1 Hour or 3 Hours: How Long Can a Beginner Handle Being in the Saddle?
- Indoor Gym to Outdoor Crag: Where Can Beginners Climb Safely in Bow Valley?
- Lake Louise vs Sunshine Village: Which Resort Suits Intermediate Skiers?
- Poles or No Poles: Do You Really Need Them for Banff Day Hikes?
- The Skyline Trail: How to Plan Jasper’s Most Famous Multi-Day Hike?
Kananaskis vs Kicking Horse: Which River is Too Rough for Kids?
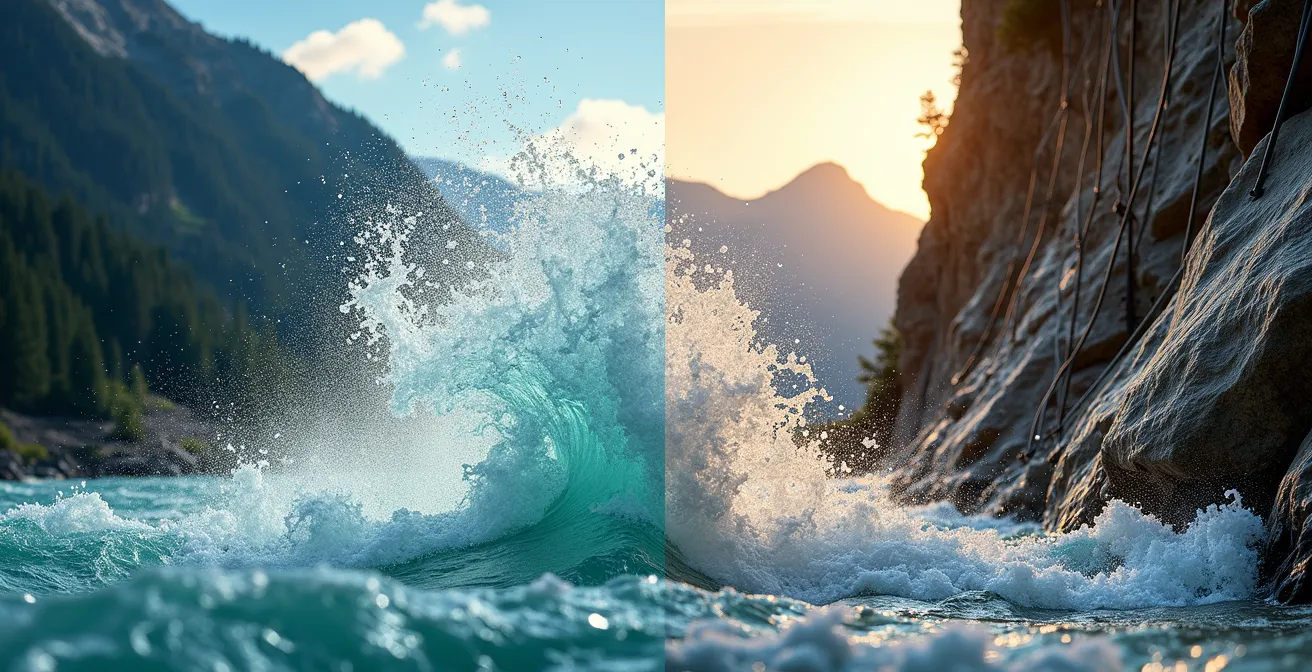
Whitewater rafting is the classic Alberta adrenaline rush. But not all rivers are created equal, and choosing the wrong one can mean the difference between the thrill of a lifetime and a cold, miserable, or even dangerous day. This is a classic test of your Thrill-to-Skill Ratio. The Kananaskis River, with its dam-controlled flow, offers continuous and predictable Class II-III rapids. It’s pure, splashy fun—perfect for families and first-timers who want excitement without sheer terror. The minimum age and weight requirements are much lower, making it the go-to for groups with younger kids.
The Kicking Horse River is a different beast entirely. It’s a natural-flow river, meaning its personality changes with the season and recent rainfall. It serves up a mix of calm, scenic floats punctuated by furious sections of Class IV+ rapids. This is a bigger commitment, not just in terms of drive time from Banff but also in intensity. While some reviewers report taking younger children, official guidelines and the sheer power of the rapids make it better suited for teens and confident adults. Remember, the water in these glacier-fed rivers is shockingly cold—around 3°C in June—so a wetsuit is non-negotiable and a quick dip is a serious event.
The best way to decide is to honestly assess your group’s comfort with intense, heart-pounding moments versus sustained, splashy fun. As a detailed comparison of family rafting options shows, the logistics and intensity vary significantly.
| Factor | Kananaskis River | Kicking Horse River |
|---|---|---|
| Water Class | Class II-III (moderate) | Class II-IV+ (moderate to intense) |
| Minimum Age | 5 years | 12 years |
| Minimum Weight | 45 lbs | 90 lbs |
| Family of 4 Cost | $350 CAD | $450 CAD |
| Flow Control | Dam-controlled (predictable) | Natural flow (variable) |
| Experience Type | Continuous fun waves | Calm sections + big drops |
| Drive from Banff | 45 minutes | 1.25 hours |
Is a 10-Minute Heli-Tour Worth $300 for the Views?
Nothing says “Canadian Rockies” like a view from above, with jagged peaks and turquoise glaciers stretching to the horizon. A helicopter tour offers this perspective, but is it the best use of your adventure budget? Here, your Adrenaline ROI calculation is all about cost versus impact. A short 10 or 20-minute flight gives you a jaw-dropping experience with almost zero physical effort. It’s the ultimate high-reward, low-risk thrill in terms of exertion. For those with limited mobility or very little time, the ROI is massive.
However, you need to factor in the Logistical Friction. Mountain weather is fickle. A canceled flight can throw your entire itinerary into chaos. Furthermore, the price is steep; current pricing data shows flights range from $250-$450 per person for short tours. For a $200 budget, you might be priced out or limited to the absolute shortest flight. You have to ask yourself: is a 12-minute, $250 flight a better memory than a full-day, $150 guided hike to a stunning viewpoint? For some, absolutely. For others, the money is better spent on a longer, more immersive experience on the ground.
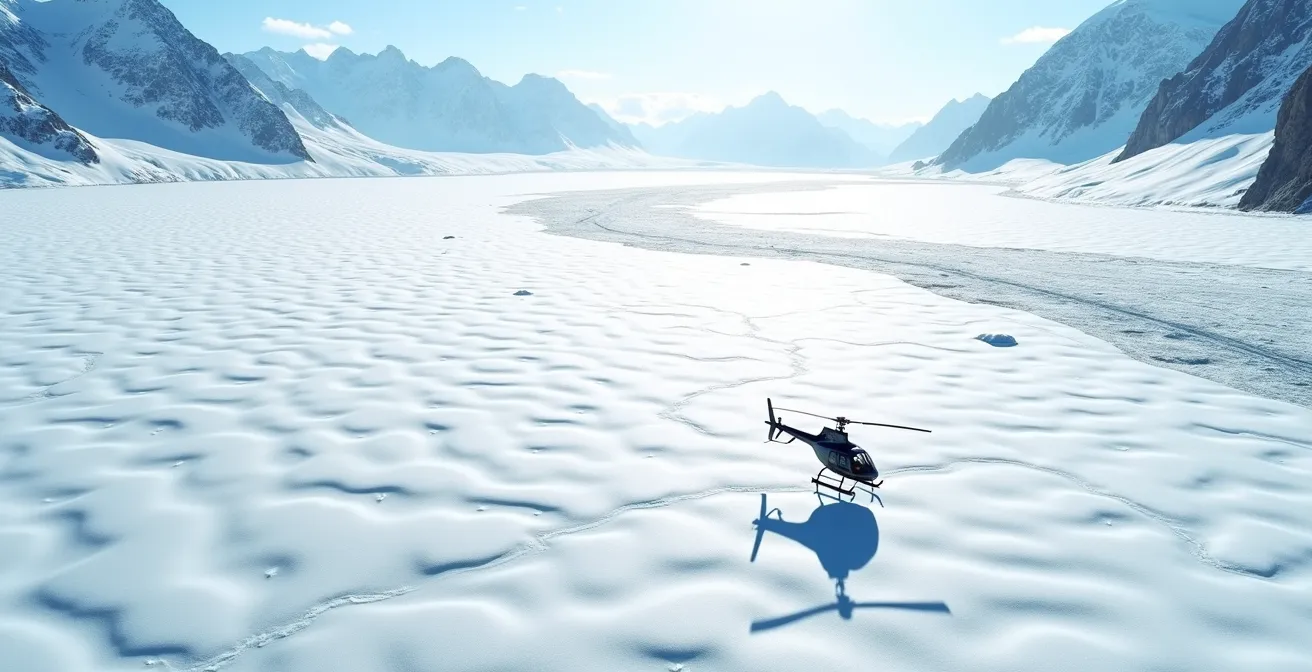
The scale you witness from the air is truly unparalleled, as the shadow of your helicopter against a vast glacier puts the immensity of the landscape into perspective. It’s an unforgettable visual, but one that comes with financial and logistical trade-offs. Your final decision depends on whether you prioritize a single, epic visual moment or a longer, more grounded adventure.
Action Plan: Mitigating Heli-Tour Weather Risks
- Book early morning flights (7-10am) when weather is typically most stable in mountain regions.
- Call the operator the morning of your flight to confirm weather conditions before driving to the heliport.
- Choose operators offering full refunds for weather cancellations, not just “rain checks.”
- Consider booking on day 2 or 3 of your trip to allow for rescheduling flexibility.
- Purchase travel insurance that covers activity cancellations due to weather.
Canmore Caves: Are You Too Claustrophobic for the Rat’s Nest Cave?
For a totally different kind of thrill, go underground. Caving isn’t about speed or heights; it’s a mental game. It challenges your sense of space and tests your nerve in the quiet, absolute dark. The Rat’s Nest Cave near Canmore is a prime example. As the Travel Alberta Tourism Board highlights, this is not a commercialized cave with lights and handrails.
The Rat’s Nest is a wild, undeveloped cave near Banff and Canmore filled with ancient cave paintings and adventure.
– Travel Alberta Tourism Board, Adventure Travel Guide
This “wild” nature means you’re crawling, squeezing through tight passages (like the “Box”), and rappelling in the dark. This brings up a critical factor: Commitment Level. Once you’re deep inside the cave system, there’s no easy way out. You have to trust your guide and push forward. If you have even a hint of claustrophobia, this high-commitment adventure might turn from thrilling to terrifying. It’s crucial to be honest with yourself before you book.
The good news? The Bow Valley offers fantastic alternatives for those who want a taste of the experience without the full-blown commitment. For a similar thrill of exposure and using fixed gear, the Via Ferrata at Mount Norquay offers an incredible experience with “fun obstacles like iron rungs, ladders and suspension bridges” while keeping you in the open air. Alternatively, the walk through Johnston Canyon takes you deep into a narrow chasm with cave-like overhangs, giving you a sense of enclosure without the finality of being deep underground. These options offer a lower commitment level and a great progression pathway to more intense adventures.
1 Hour or 3 Hours: How Long Can a Beginner Handle Being in the Saddle?
A horseback ride through the Rockies sounds idyllic, and it is. But for a beginner, the difference between a one-hour ride and a three-hour ride is monumental. A one-hour trip is a fantastic, low-impact way to see the landscape. You’ll get a feel for the horse, snap some great photos, and walk away feeling great. It’s a perfect, gentle introduction to the backcountry. The Adrenaline ROI is high for the low physical cost.
Pushing that to two or three hours dramatically changes the equation. Your “saddle muscles”—which most people don’t use daily—will start to protest. Your inner thighs, glutes, and lower back will feel it. While the views are more expansive on longer rides, your physical discomfort can start to outweigh the enjoyment. This is where guide quality becomes paramount. A good outfitter will ensure your pace is comfortable and that you’re properly seated. As one guest noted about their trip:
Our overall experience was excellent. Every activity exceeded our expectations but our guides made the trip memorable.
– Guest, Active Adventures
For a first-timer, my advice is always to start with a 1 or 1.5-hour ride. If you love it, you can always book a longer one next time. Don’t let your ambition ruin the experience. And if you do go for a longer ride, have a recovery plan. Think about a gentle stretch focusing on your hips and inner thighs right after you dismount, and plan for a soak in the Banff Upper Hot Springs that evening. The day after a long ride should be reserved for low-impact activities like a scenic drive or a gondola ride, not a strenuous hike.
Indoor Gym to Outdoor Crag: Where Can Beginners Climb Safely in Bow Valley?
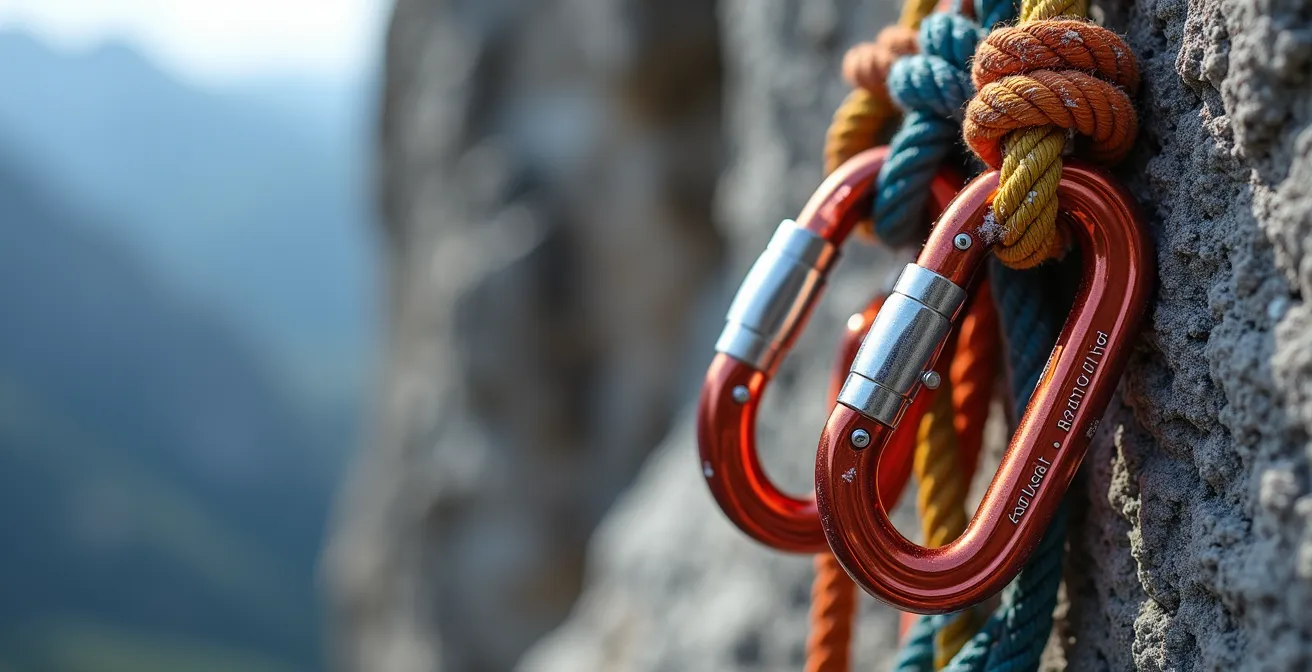
If you’ve been pulling on plastic at your local climbing gym, the thought of testing your skills on real rock in the Bow Valley is incredibly tempting. This is a huge step up, and it’s a perfect example of a Progression Pathway in adventure sports. The feeling of natural rock under your fingers, with the epic backdrop of the Rockies, is unbeatable. However, the barrier to entry is high. Safety is paramount, and you can’t just buy a rope and head for the cliffs. You need a guide.
This is where the budget conversation gets real. A full day with a certified local guide is the only safe way for a beginner to experience outdoor climbing. This includes all the necessary gear (ropes, harnesses, helmets) and, most importantly, the expert knowledge of setting up safe anchors and choosing appropriate routes. The cost, however, is a significant factor. According to local guiding services pricing shows a guided day can run $400-$500, while building even a basic beginner gear rack yourself would cost over $1000. This puts a full-day private experience outside our $200 target.
So, what’s the move? Look for group clinics or half-day introductory courses. Many outfitters in Canmore and Banff offer these at a price point closer to $150-$200 per person. Your Adrenaline ROI here is massive in terms of skill acquisition. You’re not just having fun; you’re investing in knowledge that will unlock countless future adventures. It’s a trade-off: less private time on the rock, but a financially accessible and safe entry into a thrilling sport.
Lake Louise vs Sunshine Village: Which Resort Suits Intermediate Skiers?
When winter blankets the Rockies in that famous light, dry powder, the debate begins: Lake Louise or Sunshine Village? For an intermediate skier, both offer incredible terrain, but they provide very different experiences. Your choice here impacts your day’s flow, your weather exposure, and the type of runs you’ll be lapping. This isn’t just about finding blue runs; it’s about finding the *right kind* of blue runs for your style.
Lake Louise’s front side is a paradise of wide-open, perfectly groomed cruisers. It’s ideal for skiers who love to open up their turns and build confidence at speed. The lower mountain runs are tree-lined, offering crucial visibility and protection on windy or snowy days. Sunshine Village, sitting high on the continental divide, is known for its incredible snow and 360-degree views, but its intermediate terrain can be narrower and more technical. It’s also more exposed to the elements, and wind holds can be a factor. The “Logistical Friction” is also higher at Sunshine, requiring a gondola or bus ride from the remote parking lot just to get to the main village.
On-mountain food costs and lift ticket prices are comparable, so the decision really boils down to terrain preference and weather tolerance. This comparison matrix helps clarify the choice for an intermediate skier.
| Factor | Lake Louise | Sunshine Village |
|---|---|---|
| Terrain for Intermediates | Wide-open front side groomers | Narrower, more technical blues |
| Weather Protection | Tree-lined lower mountain runs | Higher elevation, prone to wind |
| Progression Terrain | Top of the World chair | Goat’s Eye Mountain blues |
| Parking | Easier, closer to lifts | Remote lot + gondola/shuttle |
| On-Mountain Food Cost | $18-25 per meal | $20-28 per meal |
| Daily Lift Ticket | $145 CAD | $149 CAD |
Poles or No Poles: Do You Really Need Them for Banff Day Hikes?
Hiking is the most accessible adventure in the Rockies. It can be virtually free, offering an incredible Adrenaline ROI. But as you tackle more ambitious trails, the question of trekking poles always comes up. Are they an essential piece of gear or just extra weight? The answer: it depends entirely on the trail. For a flat, paved walk like the Johnston Canyon lower trail, poles are unnecessary. But as soon as you introduce significant, sustained elevation gain, they become a game-changer.
On the ascent, poles let you use your arms to help propel you uphill, saving energy in your legs. On the descent—where most knee and ankle injuries happen—they act like a second pair of legs, absorbing impact and providing crucial stability on loose rock or steep sections. For a hike like Ha Ling Peak or Sulphur Mountain, with over 400 meters of elevation gain, poles are highly recommended to protect your knees. For a treacherous scree descent like the one on Cory Pass, they are absolutely essential for safety.
For the budget-conscious traveler, the good news is you don’t have to buy a pair. The economics are clearly in favor of renting for a short trip. An analysis from local outdoor gear shops indicate that a rental costs only $10-$15 per day, whereas purchasing a decent pair will set you back $80-$150. For the cost of a fancy coffee, you can save your knees and add a significant layer of safety and endurance to your day. That’s an unbeatable ROI.
Key Takeaways
- Adrenaline ROI is a personal calculation balancing cost, thrill, physical effort, and mental challenge.
- High-cost, low-effort activities (heli-tours) trade money for epic views, while high-effort, low-cost activities (hiking) trade sweat for freedom.
- Always factor in “Logistical Friction” like weather risks, drive times, and gear rental when planning your adventure day.
The Skyline Trail: How to Plan Jasper’s Most Famous Multi-Day Hike?
So you’ve conquered day-hikes, navigated rapids, and maybe even touched the sky in a helicopter. You’re ready for the next level. Welcome to the Skyline Trail in Jasper, the ultimate Progression Pathway for the Alberta adventurer. This 44-kilometer trek is famous for a reason: more than half of it is spent high above the treeline, offering relentless, mind-blowing vistas. It’s not a single-day, $200 adventure; it’s a multi-day commitment that represents the pinnacle of self-supported mountain travel in the Canadian Rockies.
Planning the Skyline is a masterclass in logistics. It’s a point-to-point hike, meaning you need to solve the transportation puzzle: either by using a commercial shuttle service or coordinating a two-car drop. The biggest hurdle, however, is securing a campsite. Reservations through Parks Canada are fiercely competitive, often selling out within minutes of opening in the winter. You also have to be prepared for any weather, as sections like “The Notch” can hold snow and ice well into July, making them impassable without the right gear and experience.
While this adventure falls outside the scope of a single-day budget, understanding what it takes to plan it is the perfect goal for a return trip. It requires you to apply all the principles of Adrenaline ROI on a grander scale: budgeting for permits and shuttles, training your body for the physical demands, and preparing mentally for the challenges of the backcountry. It is the ultimate expression of freedom in the mountains, a goal worth working towards.
Now that you have the framework for choosing your adventure, you can confidently explore the options and book the experience that delivers the perfect adrenaline rush for you. Start planning today and get ready to test your Adrenaline ROI in the heart of the Canadian Rockies!
Frequently Asked Questions about The Skyline Trail: How to Plan Jasper’s Most Famous Multi-Day Hike?
When do Skyline Trail campsite reservations open?
Parks Canada reservations typically open in January/February for the summer season. Popular sites like Tekarra and Signal sell out within minutes of opening.
What’s the cost comparison between shuttle service and two-car system?
Commercial shuttle costs approximately $35 per person, while a two-car system requires double gas and park passes but no shuttle fee. Groups of 3+ may find two-car more economical.
Can I hike The Notch safely in early July?
The Notch can hold snow and ice well into July. Always check current trail reports from Jasper Park Information Centre and have a bail-out plan if conditions are dangerous.